

Posted on: 2023-12-15
 Hub
HubFor all things cosmetics and toiletry making!
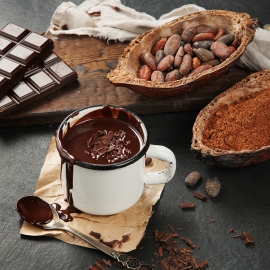
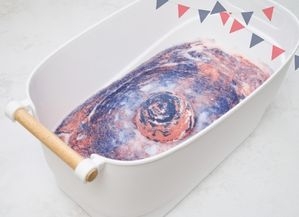
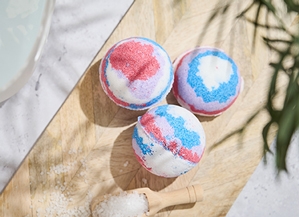
Welcome to the Wonka factory, er I mean bath bomb workshop! As you may know, Charlie Bucket was forever changed once stepping into Willy Wonka's magical chocolate factory. While we can't magically shrink down and frolic amongst the chocolate river, melted candy buttons and orange trees made of gumdrops, we can bring a bit of Wonka wonder into our homes with these Cocoa Butter Bath Bombs inspired by the classic film.
Who doesn't want to relax in a bubbly bath that smells of chocolate, candy and all things sweet? Using cocoa butter in our recipe, we'll whip up a batch of fizzing bombs that will transport you straight to a world of pure imagination. So grab your gloves, apron and mixing bowl - it's time to start creating some chocolatey cocoa concoctions!
By the time you emerge from your own Oompa-Loompa inspired soak, you'll be well on your way to becoming a bath bomb brewing sensation. In our guide we take your through each step, answer some frequently asked questions and provide top tips for making your own bath bombs at home!
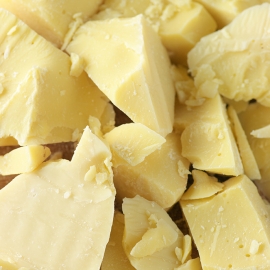
Cocoa butter is an all-natural, plant-based product derived from the same cocoa beans used to make chocolate. It has long been touted as a natural skin moisturiser and protector due to its ability to form an oily barrier on the surface of your skin that locks in moisture while providing protection against environmental damage such as windburn and sunburn. Here are just some of the benefits of using cocoa butter for your skin:
1. Reduces Scarring: Cocoa butter contains fatty acids which help increase collagen production in the skin, helping reduce scarring from acne or other sources over time.
2. Hydrates Dehydrated Skin: Cocoa butter is highly emollient, meaning it helps keep your skin hydrated by locking in moisture after you wash it off with water. This makes it especially beneficial for people with dry or sensitive skin types who may struggle with eczema or psoriasis more than others would.
3. Acts as an Anti-Aging Agent: Cocoa butter naturally contains antioxidants like Vitamin E which can help reduce fine lines and wrinkles caused by aging and exposure to environmental toxins like UV rays from direct sunlight. As a result, using it regularly can slow down signs of aging on your face or other body parts that are consistently exposed (like hands).
4. Locks In Essential Nutrients & Minerals: Cocoa butter is high in essential nutrients such as vitamins A, C and E along with minerals like iron, calcium and magnesium which work together to help fight free radical damage while nourishing your cells from within – giving you healthier looking overall complexion!
From these benefits alone, it's easy to see why many people swear by cocoa butter when taking care of their skin! Keep in mind though that everyone's individual needs will be different – so always use ingredients that work for your skin type.
Making bath bombs is a fun and easy activity that you can do at home or a wonderful addition to your product range if you are venturing into the cosmetics industry. To ensure your bath bombs set correctly, it is important to follow a few simple tips...
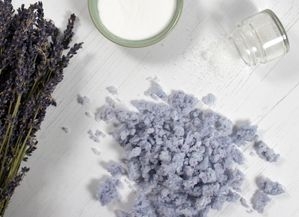
Firstly, make sure you get the correct consistency by aiming for a snowball texture when squeezed together. This helps to ensure your bath bombs have the correct amount of moisture that your ingredients hold together but not too much that they start to react.
Secondly, mix your ingredients well to ensure they disperse evenly throughout, resulting in a perfectly formed bath bomb every time. It also means there won’t be pockets of colour or fragrance, which will be nicer on your skin and your bathtub!
Finally, make sure to store your finished bath bombs in a dry place with no moisture that can trigger the fizzing reaction. Hot and humid atmospheres are not a friend to bath bombs or storing them in jars that collect condensation. Storing them in a dry, warm place keeps your bath bombs happy and ready to use.
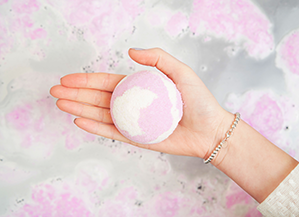
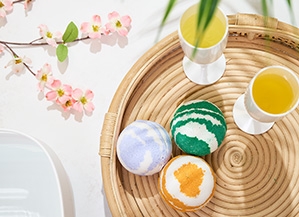
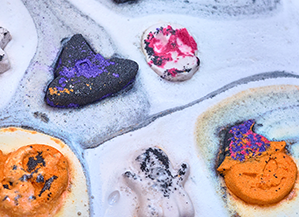
Bath bombs can be made into a variety of shapes and appearances, fashioned to resemble practically anything, including food! Bath bombs may be readily shaped into the shapes of your favorite foods, even though you won't want to eat them. This will leave your bathing experience smelling as good as a five-star restaurant.
Bath bombs are becoming more and more popular, especially those that mimic food, therefore it's critical to understand the best methods for making these inedible but gorgeous-looking treats!
There are regulations prohibiting the production of food imitating products in several countries, including bath bombs, soaps, wax melts, and food-looking candles. Having said that, you can let your creativity go wild when it comes to food mimicry because many countries don't have laws against this form of artistic expression. However, we always advise you to check the legislation in your country before you start making, as we don't want people confusing your items for a delicious snack and you not having followed the rules.
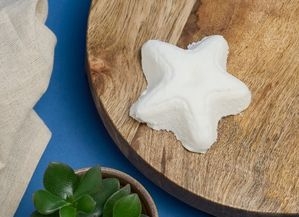
The most well-liked bath bombs made by people who are skilled in food-related crafts are typically ones shaped like fruits and desserts. With a few simple ingredients, you can create anything that looks delicious enough to eat, such as bath bomb cupcakes, strawberries, donuts, or ice cream.
You don't need any specialised knowledge or tools to create your own edible-looking bath bombs, though it does take some practice. All you need is a little imagination, colour coordination, and knowledge of how to make bath bombs!

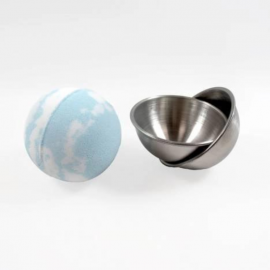
• 2 x Mixing Bowl
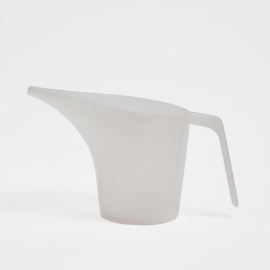
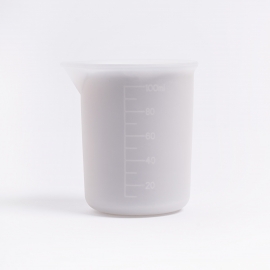
• Measuring Spoon
• Microwave
• 70mm Bath Bomb Mould
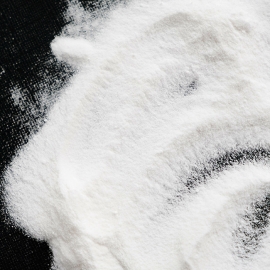
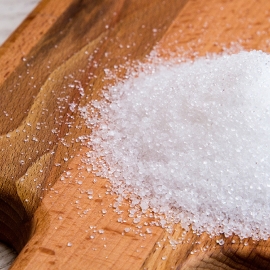
• 400g Bicarbonate of Soda
• 200g Citric Acid
• 60g Cocoa Butter, Natural, Unrefined
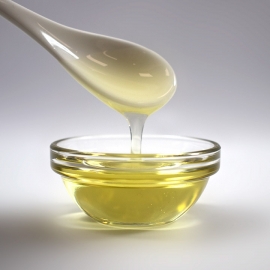
• 20g Cocoa Butter Fragrance Oil
• 20g Polysorbate 80
• Cocoa Powder (Shop Bought)
Shop all ingredients below.
This recipes makes approximately 3 x 70mm bath bombs. Always check the IFRA and legal limits for your chosen fragrance or essential oil, as well as the food imitation laws if selling this finished product.

Absolutely! Cocoa butter is one of the best ingredients for bath bombs due to its rich, creamy texture and ability to nourish skin. It is an all-natural emollient that helps your skin stay hydrated while you relax in a hot bath.
Cocoa butter contains oleic acid, which has anti-inflammatory properties that can help reduce redness and irritation on sensitive or problem skin. It also contains vitamin E, which helps protect against environmental damage and promotes healing of damaged skin cells as well. In addition to being incredibly hydrating, cocoa butter also works as a natural barrier between you and the water – locking moisture in while still allowing some evaporation so you don’t overheat when using your bath bomb!
Finally, cocoa butter also contributes to the luxurious scent of many bath bombs since it has a naturally delightful chocolatey aroma (without any extra additives). So if you're looking for a way to make your homemade creation stand out from the rest with something truly special, go ahead and give cocoa butter a try!
Absolutely! Cocoa powder is a great ingredient to use in your homemade bath bombs. Not only will its rich, chocolatey scent make for a luxurious and relaxing experience, but it can also be used as an exfoliator.
Cocoa powder has several benefits when added to bath bombs. The antioxidants found in the powder can help protect against skin damage from pollutants and other environmental aggressors, while the magnesium helps to nourish dry skin. Vitamin A and C provide additional nutrients that help keep your skin looking healthy and vibrant over time - plus, they smell delicious!
Setting bath bombs is an essential step in the process of making them, as it ensures your bath bombs are of optimal quality and have a longer shelf-life. But how long should you leave your bath bombs to set?
Generally, it’s best to give your bath bombs at least 24 hours after shaping and drying before testing to ensure that they have had enough time for any oils or other ingredients used to fully incorporate into the mixture. This also allows for any moisture from the water you may have added (or from humidity in the air) to evaporate off naturally. If the mixture contains too much moisture, it can cause instability in its overall structure once exposed to heat or pressure during use.
Once you’ve given it some time for setting, then go ahead and test one out! Take a look at whether there is any visible softness or excess moisture present on top - this will indicate whether additional time is required for proper curing before packaging and selling. A full cure usually requires 4-7 days of total drying time before being individually wrapped/packaged; however bath bombs can start to harden after a few hours. We recommend at least 24hrs before using and if packing in bulk bags without individual wrapping it is best to leave 7-14 days to prevent the risk of damage. Other factors that could affect curing times include temperature, humidity levels, air flow around each bomb while setting/curing, different recipe ingredients used etc., so take all of these into account as well when planning out your schedule accordingly!
If you're looking for that perfect texture and fizziness with every use then extra care put into properly setting and curing will yield great rewards – plus extra happy customers too!

 Vegan
Vegan
 Cruelty Free
Sign up to our mailing list to ensure you don't miss out and get 10% off your first order in your welcome email!
Plus, stay up-to-date with the latest news, tips, offers and inspiration from members of The Soap Kitchen community.
.jpg)


Leave a comment
Login to post comments