

Posted on: 2023-06-22
 Hub
HubFor all things cosmetics and toiletry making!
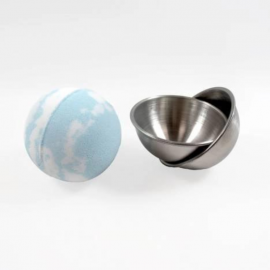
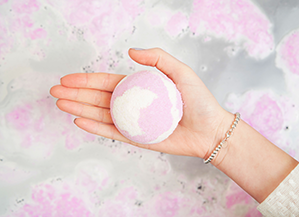
A fun and floral recipe, our Floral Layered Bath Bombs are quick and easy to make using our step by step guide. The perfect beginners bath bomb recipe to make at home, with just the right amount of fizz!
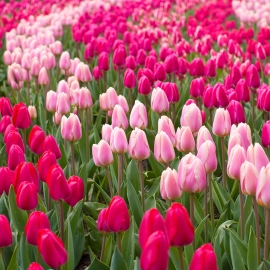
Turn your bath time into a floral paradise, with your choice of fragrance oil and stunning colours to give your bath bombs character.
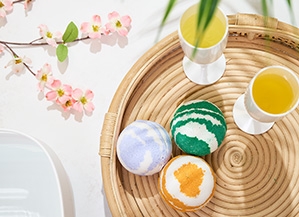
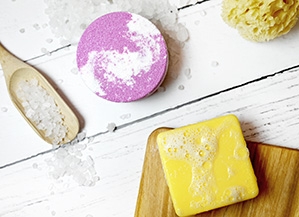
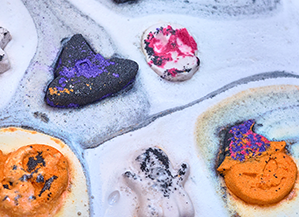
When making bath bombs, you can get really creative with the look and finish of your bath bomb design. One technique, which is great for beginners, is layering your bath bomb.
Once your colours are made and your mixture is ready, you simply layer your colours into your mould by alternating your shades. You can choose a more rustic style, like we have done in this recipe, or be more precise with your layers to create defined layers. To do this, tap your mould on a flat service after each layer and smooth over with the back of a spoon.
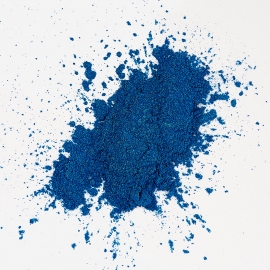
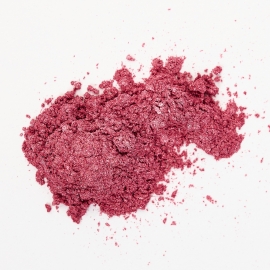
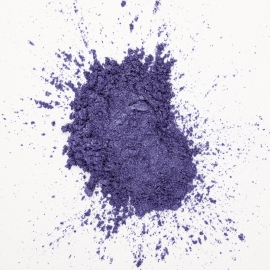
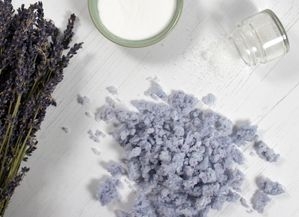
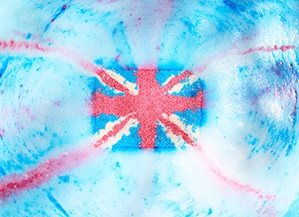
Selecting your colour and finish is all part of the fun when making bath bombs. Finding a colour that holds it's vibrancy, disperses in the water and washes away easily is key. At The Soap Kitchen, we have two colour types that are perfect for use in bath bombs. Our Liquid Dyes and our Mica Powders, both work to hold the colour and add character to your bath bombs.
Yes, Mica Powders are a great colour choice for bath bombs, with their fine powder grain, it means they blend smoothly and disperse throughout your mixture to coat your ingredients evenly. They can provide a range of colours from bright to pastel, depending on the quantities your use. They also have a shimmery effect, to make your bath bombs stand out and leave your bath water glistening.
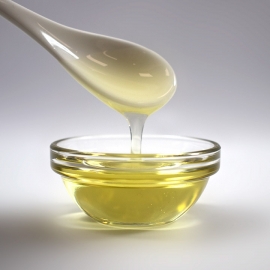
Part of the polysorbate family, Polysorbate 80 is an emulsifying ingredient, used in a range of cosmetics and toiletries to bind oils and water together, as well as help colour to disperse in water. It makes a great addition to bath bomb recipes to ensure your fragrance or essential oil blends throughout the water and so your colour completely fills your bath water without resting on the top.
It works to prevents the oils and mica powders from sticking to your bath tub, which is important to reduce slippery incidents and after a good rinse you can leave your bath tub nice and clean!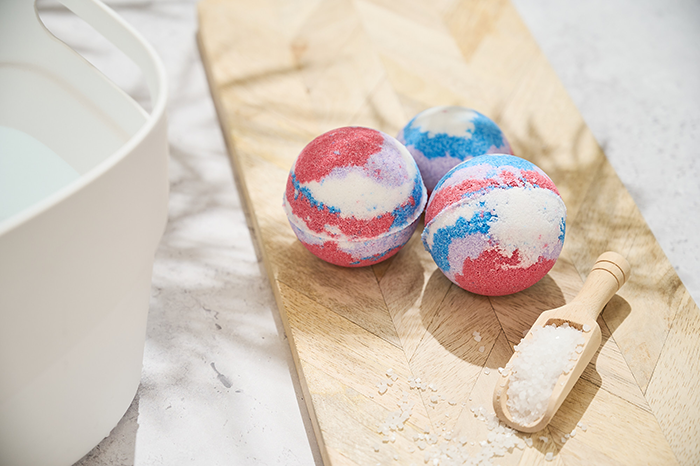
• 4 x Mixing Bowls
• 70mm Bath Bomb Mould
• Water Sprayer
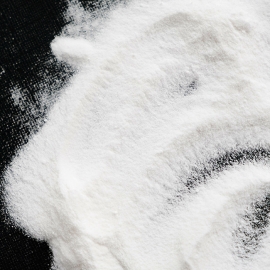
• 400g Bicarbonate of Soda
• 200g Citric Acid
• 30g Polysorbate 80
• 20g Fragrance Oil
• Light Pink Mica Powder
• Blue Mica Powder
• Purple Mica Powder
Shop all ingredients below.
This recipes makes approximately three 70mm bath bombs. Always check the IFRA and legal limits for your chosen fragrance oil.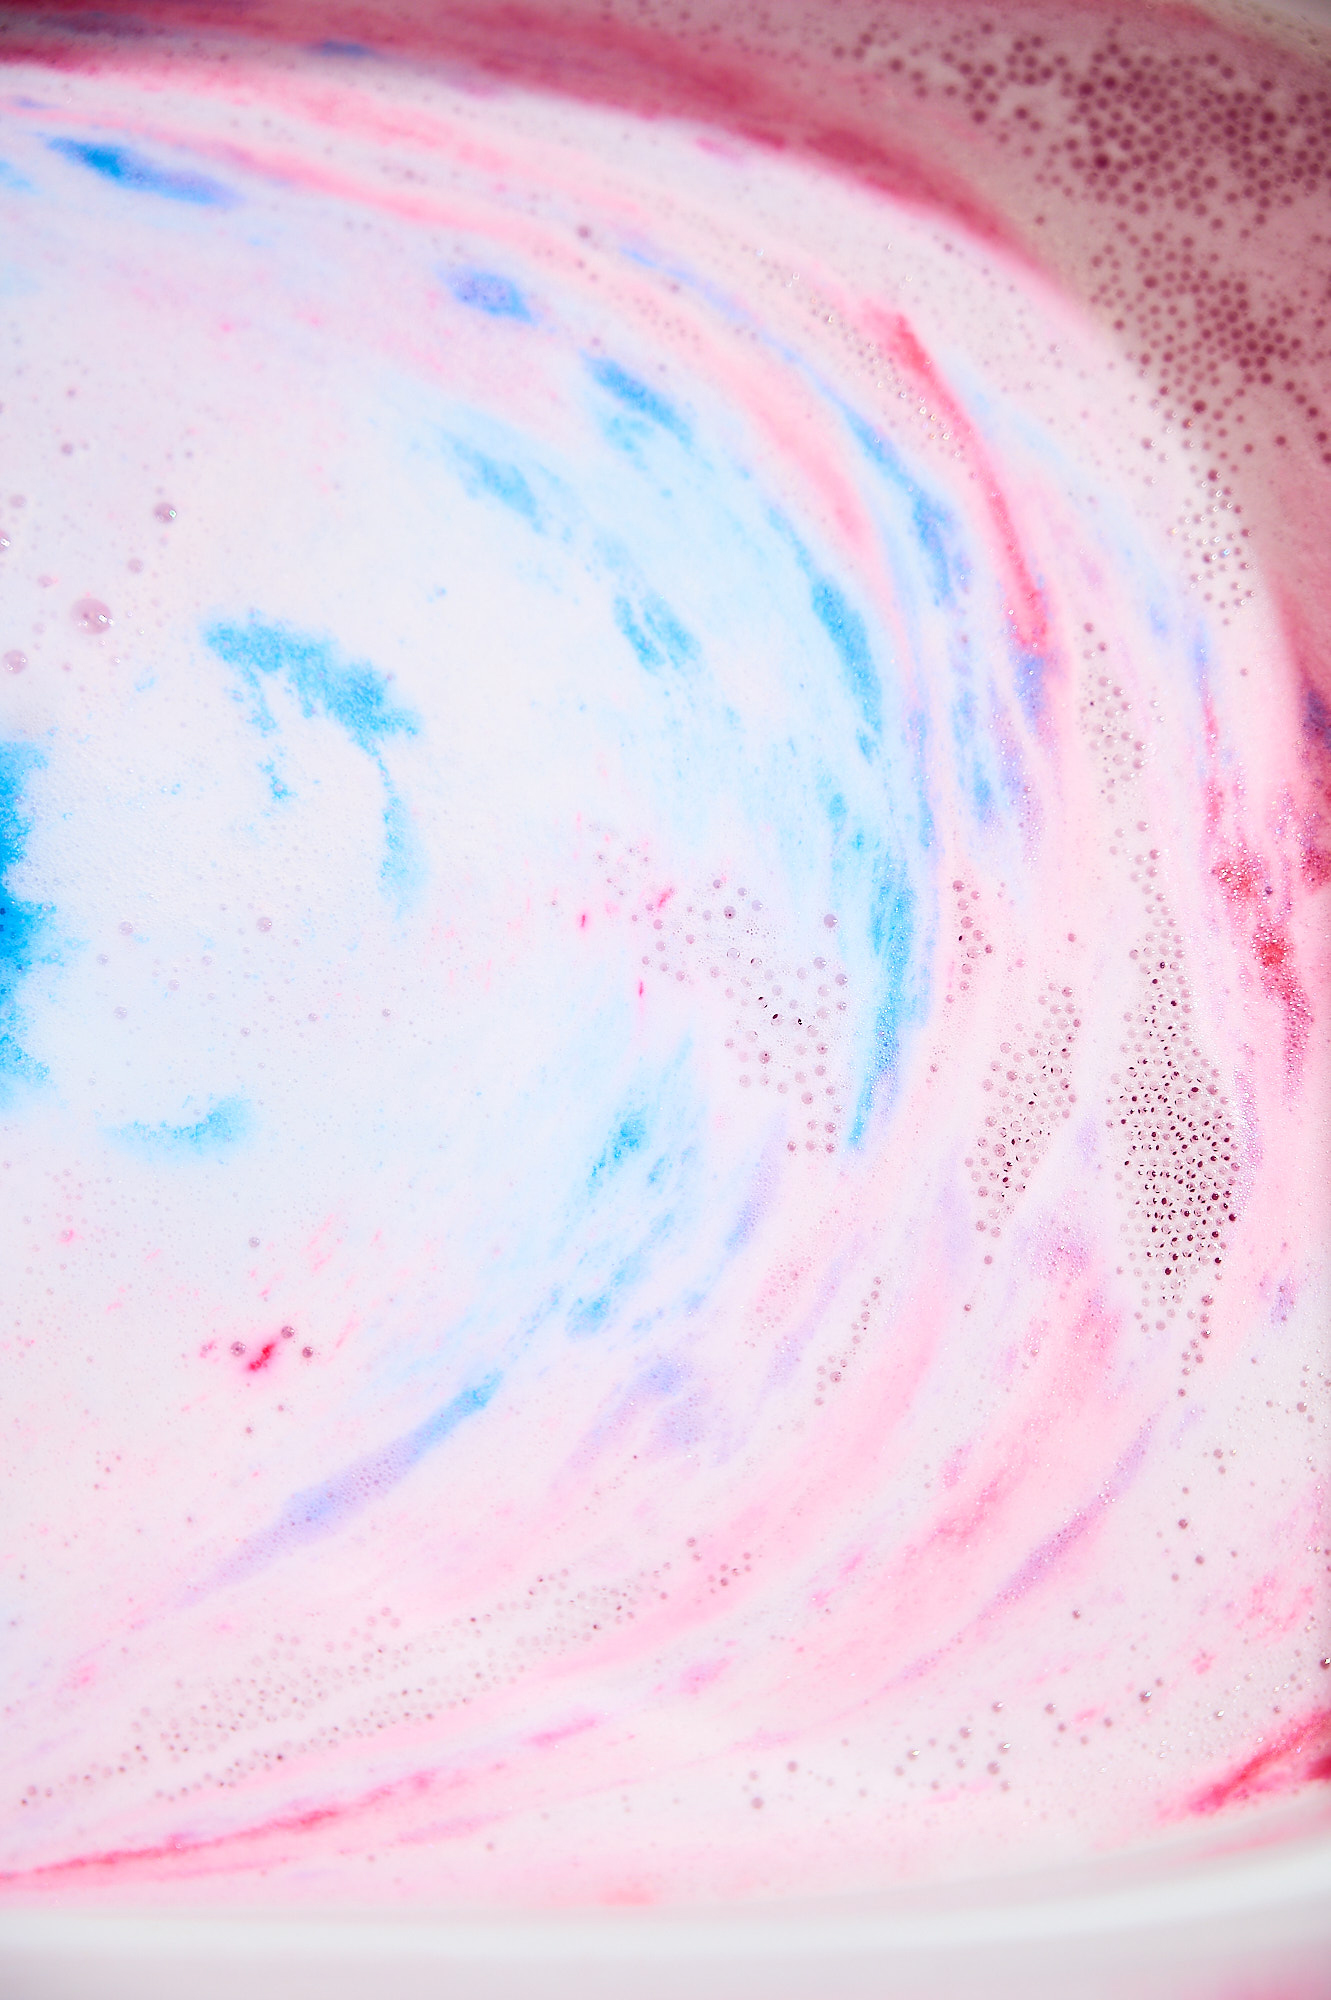
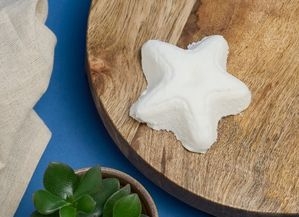
Top Tip: Leaving your bath bombs to sit for 45-60 minutes before removing them from your mould, will stop the risk of your bath bomb having a flat bottom. As the mixture is still wet, it is very soft and won't hold fully. Allowing it to dry slightly strengthens your mix enough to hold its spherical shape.

 Vegan
Vegan
 Cruelty Free
Sign up to our mailing list to ensure you don't miss out and get 10% off your first order in your welcome email!
Plus, stay up-to-date with the latest news, tips, offers and inspiration from members of The Soap Kitchen community.
.jpg)


Leave a comment
Login to post comments