

Posted on: 2023-11-08
 Hub
HubFor all things cosmetics and toiletry making!
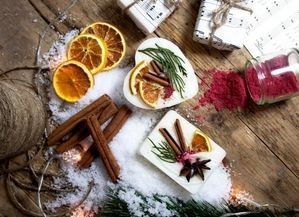
Welcome to the festive world of homemade bath bombs! Making your own candy cane inspired creations is the perfect way to get into the holiday spirit, while also creating something special and unique for yourself or others. Whether you love crafting in general, are just starting out on your DIY journey, or run a small business making handmade products - this cosy blog post has you covered!
Learn how to make luxurious bath bombs, with candy canes included and a beautifully festive minty aroma – complete with tips on layering and colours that will make them look good enough to give as gifts. So grab some supplies, get your crafting gloves on…and let's start making those festive-scented goodies!
Shop everything you need at The Soap Kitchen. Including all of your equipment and tools, moulds, colours, fragrances and more...
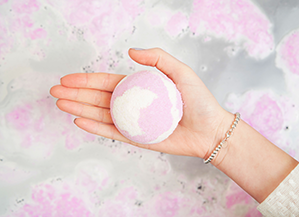
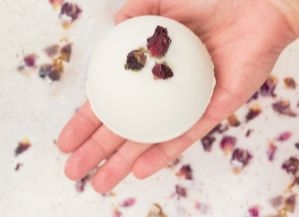
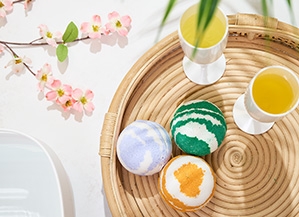
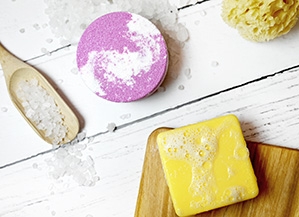
Making your own Christmas bath bombs will let you customise the colour, scent, and shape - allowing for a personal touch to your festive creations. Whether it's a gift for someone special or to brighten up your Christmas range, homemade Christmas bath bombs put smiles on everyone's face...
Layering bath bombs can be a fun and creative way to add variety to your product line – whether you’re looking for something special for a gift, or just want to make something unique and exciting! Here are some tips on how to layer bath bombs effectively:
Firstly, it’s important to understand the definition of ‘layering’. When layering bath bombs, each layer contains different colours that will create an interesting visual presentation when un moulded.
When creating your layers, it is really essential to ensure that each layer is compact in your mould before adding the next layer on top. It helps if you press firmly while filling the mould with your mixture; this ensures that layers stay tight during drying time. It you don't press your layers, it won't be realistic for the thickness of each line, you bath bombs need to be pressed to ensure they hold together.
Finally, make sure there is enough of each colour used so that once un moulded the individual layers are visible (not too little!). This makes layering more remarkable from both a practicality standpoint (you need enough base ingredients per layer) as well as an aesthetic perspective – after all they should look stunning! With these tips under your belt, you should now be able confidently start experimenting with layered bomb creations!
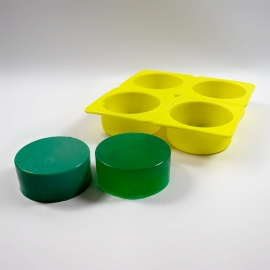
• Suitable Mould
• 2 x Mixing Bowls
• Spoon
• Water Sprayer
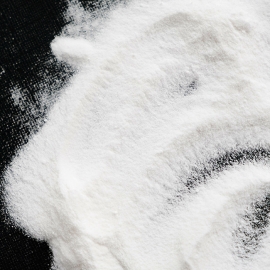
• 400g Bicarbonate of Soda
• 200g Citric Acid
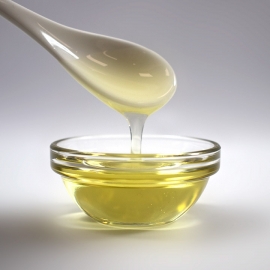
• 30g Polysorbate 80
• 20g Fragrance Oil
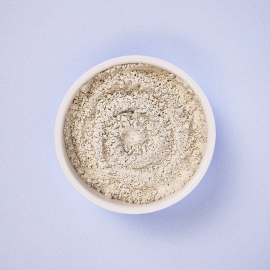
• 15g Kaolin Clay
• PCD Liquid Dye - Red
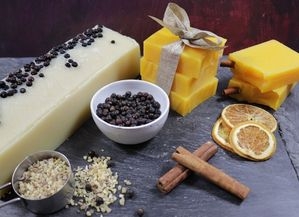
• Pre-made Melt & Pour Candy Cane Soaps
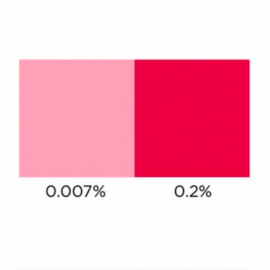
If you are looking to add Essential Oils or more Colours, explore our range.
This recipes makes approximately four circle bath bombs using our circle mould (approx 150g each). Always check the IFRA and legal limits for your chosen fragrance or essential oil.

 Vegan
Vegan
 Cruelty Free
 Vegan
Cruelty Free
Vegan
Cruelty Free
Sign up to our mailing list to ensure you don't miss out and get 10% off your first order in your welcome email!
Plus, stay up-to-date with the latest news, tips, offers and inspiration from members of The Soap Kitchen community.
.jpg)


Leave a comment
Login to post comments