

Posted on: 2022-06-14
 Hub
HubFor all things cosmetics and toiletry making!
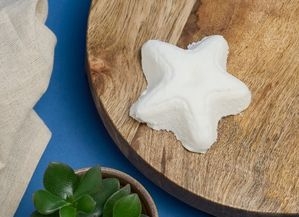
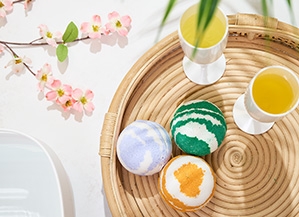
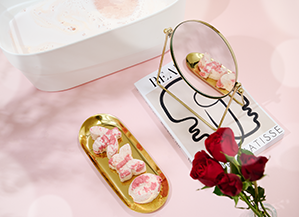
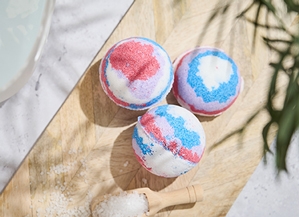
Everybody loves a bath bomb, especially a floral, creamy and beautifully detailed bath bomb!
Create your own Floral Milky Bath Bombs using our fun and easy guide.
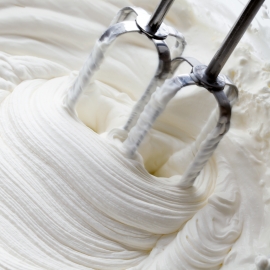
In this recipe we have used Goats Milk Powder which turns your bath water into a foamy and nourishing pool; a warm, milky and ever-so moisturising atmosphere perfect for your skin.
We have also added Cornstarch which adds that extra luxurious feel to your bath bomb, prolonging the fizz and creating a silky sensation as you move in the water.
This recipe is a guide and can be adjusted using all kinds of scents and colours on our website to create your own bespoke Bath Bombs.
• Large Mixing Bowl
• Accurate Weighing Scales
• Gloves
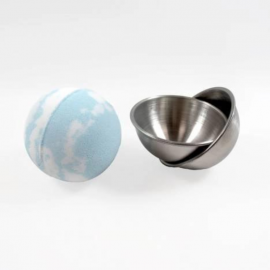
• 1x Bath Bomb Mould, Stainless Steel, 70mm
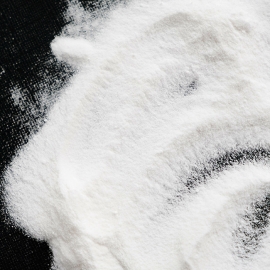
• 400g Bicarbonate of Soda
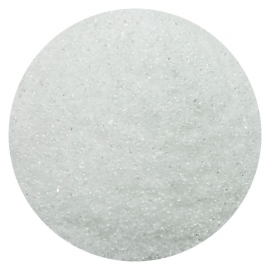
• 200g Citric Acid Fine Granular, Monohydrate
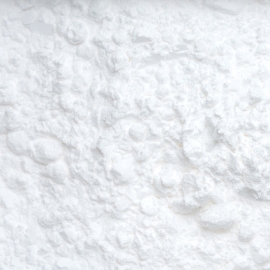
• 50g Goats Milk Powder
• 20g Cornstarch
• 20g Creamy Fragrance, Allergen Free
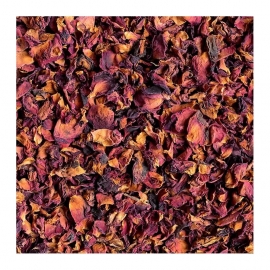
• 5g Red Superior Rose Petals
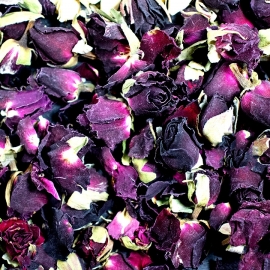
• 10 Red Rose Buds
Firstly, wearing gloves weigh out all of your ingredients.
Add the bicarbonate of soda and the citric acid into the mixing bowl. Mix thoroughly until combined.
Next mix in the milk powder.
Then add in your cornstarch and mix well.
Pour in your fragrance oil and mix well ensuring there are no lumps.
Before you start building your bath bombs you need to make sure the mixture has a snowball-like consistency. From a distance spray your mixture with water and mix until you start to feel the consistency change.
Keep adding small sprays of water until your mixture starts to hold together on its own. Repeat with your white mixture.
Now you can start building your bath bombs. For our first bath bomb, we added some of our dried rose buds to the bottom of the mould before adding our bath bomb mixture. Then fill the second half of your mould.
Make sure you make one-half of your mould slightly higher than the other so when you combine them they slot together easier. Push your two halves together and wipe away any excess.
Next using a flat edge tool gently tap on the mould which will help loosen the bath bomb as you can see then repeat on the other side.
Leave the bath bomb to one side to dry then repeat until you have used all your mixture. Experiment with different looks like adding your rose buds after your bath bomb is made.
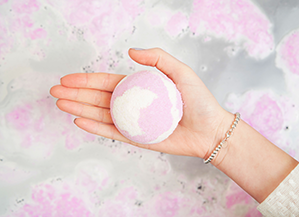
For one-half of your mixture, pour in your rose petals and mix well before building the rest of your bath bombs. Then you will have bath bombs full of petals!
Make sure you leave your bath bombs to dry for at least 24hrs so they are nice and solid then they are ready to use!

Sign up to our mailing list to ensure you don't miss out and get 10% off your first order in your welcome email!
Plus, stay up-to-date with the latest news, tips, offers and inspiration from members of The Soap Kitchen community.
.jpg)


Leave a comment
Login to post comments