
The Hub
Hub
For all things cosmetics and toiletry making!
How To Make Royal Bath Bombs
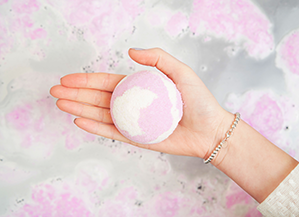
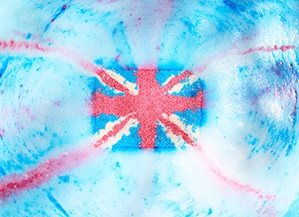
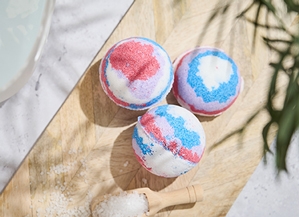
Treat yourself or a loved one like royalty with our this fun and easy guide to making Royal Bath Bombs. This creation makes two 80mm bath bombs, with a fruity and fresh aroma, and amazing foaming properties to display a beautiful red, white, and blue pattern in your bath and turn your bath water a deep purple.
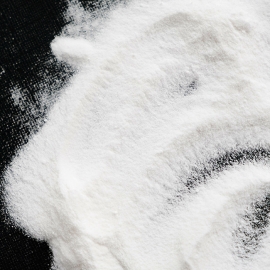
Our Sodium Lauryl Sulfoacetate Powder (SLSA) adds amazing foaming properties to your bath bombs and is perfect when you want to add some extra foamy fun to your bath time.
This recipe is a guide and can be adjusted using all kinds of scents, colours and more on our website to create your own bespoke bath bombs.
What is polysorbate 80?
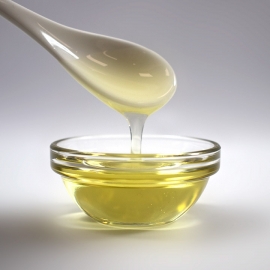
Polysorbate 80 is an emulsifying agent, used to bind oils and water, along with colour in your water. Meaning your bath bomb will disperse evenly throughout the water and not cling to the side of your tub.
What is Sodium Lauryl Sulfoacetate?
Sodium Lauryl Sulfoacetate, also known as SLSA, is a wonderful cleansing ingredient that add amazing foaming properties to your recipe. Making then a perfect addition to bath bombs, adding extra foam as your bath bomb dissolves and increasing the volume of your chosen colours throughout the bath water.
How to create a swirl pattern in bath bombs...
To create a swirl pattern in bath bombs, fill your mould with your desired colours and mix. Using a pointed tool, like the handle of a spoon, push to the bottom of your mould and turn your mixture in a circular motion. This will push the colours round to create a swirl design. Carefully remove the tool and continue to fill your bath bomb like normal.
How do you create a colour changing bath bomb?
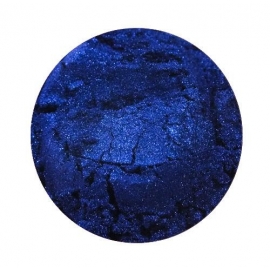
Creating a colour changing bath bomb, is about your finished bath bomb starting as one colour but turning your bath water into a different colour and it is all about knowing your colour mixes. For example, mixing blue and yellow to make green, red and yellow to make orange etc. The same theory works when combining mica powders in your bath bombs. For this recipe, we used the union jack inspired colours, red, white and blue for the initial finish of the bath bombs, knowing that when you mix red and blue they create purple. Leaving a beautiful, shimmery purple in the bath water.
It also works if you are missing a particular shade, you can pre-mix your mica powder to find the colour your desire before adding it to your bath bomb mix.
Please ensure all appropriate safety gear is worn when making this product.
Equipment
• 3 x Large Mixing Bowls
• Weighing Scales
• Water Spray Bottle (optional)
• Bath Bomb Mould
Materials
• 400g Bicarbonate of Soda
• 200g Citric Acid Fine Granular, Monohydrate
• 30g Sodium Lauryl Sulfoacetate Powder, SLSA
• 15g Polysorbate 80
• 20g Fragrance Oil
• Red Mica Powder
• Blue Mica Powder
How To Make Colour Changing Bath Bombs...
- Firstly, wearing gloves weigh out all of your ingredients.
- Start by combining your bicarbonate of soda and citric acid in a bowl and mix thoroughly until you have a consistent texture.
- Next, add in your SLSA and mix well ensuring you get rid of any lumps. SLSA is a very fine powder so be careful when adding and mixing.
- Then pour in your polysorbate 80 and mix.
- Add in your fragrance oil and mix again ensuring everything is dispersed evenly.
- Divide your mixture into thirds and add your red mica to one third and mix. Then add your blue mica to another third and mix well.
- Before you start building your bath bombs you need to make sure the mixture has a snowball like consistency. If your mixture does not have this consistency, from a distance spray your mixture with water and mix until you start to feel the consistency change.
- Keep adding small sprays of water until your mixture starts to hold together on its own. Repeat with your white mixture.
- Now you can start adding parts of all three mixtures to your half moulds. Sprinkle small amounts of your colours into your mould until you are happy with your desired pattern. Get creative and mix your colours in the moulds to make patterns. We have used a glass rod to create a swirl effect with our colours.
- Make sure you make one-half of your mould slightly higher than the other so when you combine them they slot together easier. Push your two halves together and wipe away any excess.
- Next using a flat edge tool, gently tap on the mould to help loosen and release your bath bomb.
- Leave the bath bomb to one side to dry then repeat until you have used all your mixture.
- Make sure you leave your bath bombs to dry for at least 24hrs so they are nice and solid then they are ready to use!
- And there you have it, your very own Royal Bath Bombs fit for a King or Queen!

Explore Our Articles
Join our family and get 10% off your first order!
Plus, stay up-to-date with the latest news, tips, offers and inspiration from members of The Soap Kitchen community.


.png)
.png)
.jpg)


Leave a comment
Login to post comments