

Posted on: 2023-07-05
 Hub
HubFor all things cosmetics and toiletry making!
Are you a creative looking to make your own moisturiser from scratch? Whether you're an experienced crafter or brand-new to the world of cosmetics and toiletries, this tutorial will show you how to create your own personalised moisturisers at home.
Making your very own cream is not only economical but also enables you to tailor it completely towards your skin needs. In this article, we'll be taking you through all of the steps involved in creating a simple, yet nourishing and effective moisturiser that's perfect for keeping your skin hydrated and feeling great! From gathering ingredients to tips on perfecting the best blend for beautiful results - let's get started!
A moisturiser is a cosmetic formulation used to hydrate and protect your skin. Also known, as a lotion or cream, a moisturiser is formulated with emollients to creative a protective layer that locks in moisture and prevents dryness.
The ingredients are blended and emulsified to form a liquid or cream. In a moisturiser you can switch out the oils and butters to suit your skin, from jojoba oil to avocado butter, each with their own unique benefits.
A moisturiser can also come in the form of a gel or balm, no matter the type each one is designed to satisfy your skin, helping your oil glands to keep your skin healthy and ensure it is hydrated and refreshed.
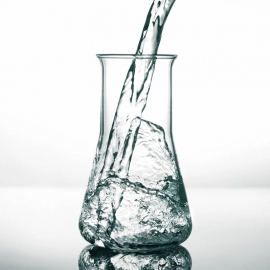
Most moisturisers are oil-in-water emulsions, meaning you combine water, oils, butters and waxes, that emulsify to create your lotion or cream. We often categorise these into three main ingredient types, Humectants, Emollients and Occlusives.
Humectants are water-based ingredients used to reduce the loss of moisture on your skin, glycerin or deionised water are perfect humectants, that absorb the water, retaining the moisture and preserving the overall properties of your product.
Emollients help to relieve, soften and improve moisture amounts in your skin, such as carrier oils. They work to influence your skin cells by adding moisturising oils to your skin surface and restoring the skins barrier.
Occlusives, such as butters and waxes, work to seal in the moisture, creating a protective layer across your skin holding in the moisture to soften and soothe your skin.
Each one works differently to hydrate and protect your skin. The difference is that Humectants retain and draw in moisture, Emollients add in moisture through oils and Occlusives create a protective layer to seal in the moisture.
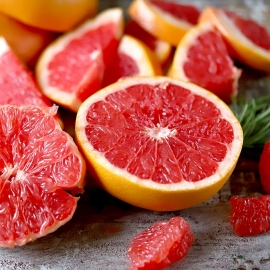
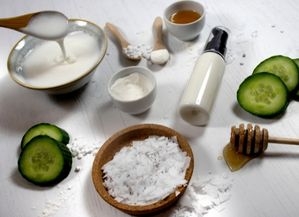
Every moisturiser is designed to cleanse and hydrate, selecting the best butters and oils for your skin type is extremely important to create a moisturiser the is most suited for you. There are a wide range of unique oils and butters that are beneficial for your skin and have been used in skin care formulations for centuries.
From coconut oil to mango butter, shea butter to grapeseed oil, each oil or butter holds properties that sooth, strength and protect your skins natural barriers and oils. As well as being high in vitamins and fatty acids, they are also known for helping with skin conditions such as eczema and having anti-inflammatory characteristics.
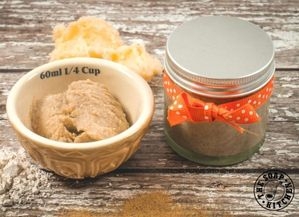
• 2 x Stainless Steel Saucepans
• Mixing Jug
• Spatula
• Whisk &/or Hand Blender
• Suitable Container & Closure
• Thermometer
Water Phase
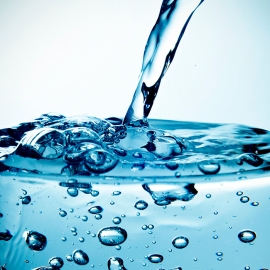
• 160g Deionised Water
• 4g Glycerine
• 2g Natural Butylene Glycol
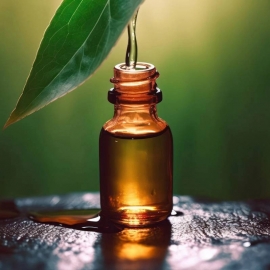
Oil Phase
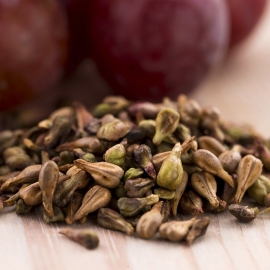
• 18g Grapeseed Oil
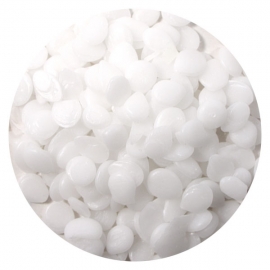
• 10g Emulsifying Wax BP
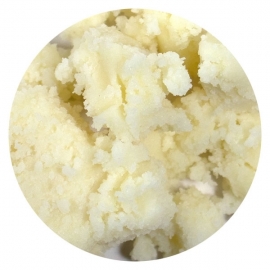
• 6g Mango Butter
Cool Down
• 2g Grapefruit Seed Extract (Preservative)
• 2g Vitamin E, Tocopherol 70% (Antioxidant)
• 2g Fragrance or Essential Oil
Shop all ingredients below.
This recipes makes approximately 200g of moisturiser. Always check the IFRA and legal limits for your chosen fragrance or essential oil.
Moisturiser is a wonderful addition to your skincare routine and is best applied after you have cleaned and cleansed, first thing in the morning and just before bed, to ensure your skin is hydrated throughout the day.
Moisturiser is perfect for dry skin and works extremely well after shaving your legs, leaving your skin smooth and silky.
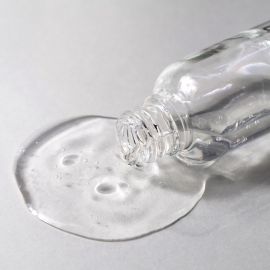
Oil in water emulsions are used to create a lighter feel cream. The water phase envelops the oils, holding the properties in place and absorbing the ingredients without leaving an oily residue on your skin.
Mixing your phases separately, allows them to blended without the emulsion taking place, them as you combine the two phases they emulsify to create your moisturiser.

 Vegan
Vegan
 Cruelty Free
Sign up to our mailing list to ensure you don't miss out and get 10% off your first order in your welcome email!
Plus, stay up-to-date with the latest news, tips, offers and inspiration from members of The Soap Kitchen community.

.jpg)


Leave a comment
Login to post comments