

Posted on: 2023-11-08
 Hub
HubFor all things cosmetics and toiletry making!
With the winter season in full swing, it's time to start getting creative and making your own festive holiday creations! Gingerbread Soaps are a great way to get into the holiday spirit - they look amazing as decorations or homemade gifts. Plus, you can make them with just a few simple ingredients using the cold process method.
This blog post will walk you through all of the steps that go into creating these unique gingerbread soaps from start to finish - including an overview of materials needed, safety considerations, methods for mixing and other helpful tips and tricks for achieving successful Gingerbread Soaps - Using the Cold Process Soap Method!
Making cold process soap is a wonderful way to express your creativity while also creating something that has numerous practical applications. If you’ve decided to take the plunge into this rewarding craft, there are a few tips that can help you succeed and enjoy the experience!
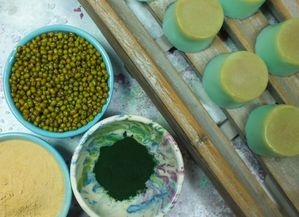
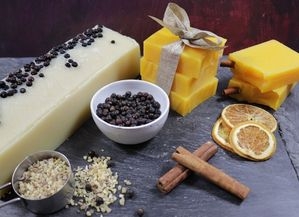
First, it’s important to prep as much as possible before starting. Depending on the recipe and scale of production, you may need to calculate amounts for different oils and butters, gather supplies like moulds or an immersion blender or stick blender, measure out essential oils or fragrance oils for scenting your soap batch, etc. Making sure all these tasks are taken care of ahead of time allows everything to run smoothly when it comes time to mix up the soap batter.
Next, make sure you use high quality ingredients when making your soaps. It's true that some recipes might cost a bit more if high quality products are used instead of regular grocery store items – however the payoff is worth it in terms of quality product produced each time! Furthermore ensuring safety precautions such as wearing long sleeves and protective gloves should be considered compulsory no matter what kind of ingredients are used in order prevent any potential accidents from occurring during production process. Especially when making cold process soap, as this involves a harmful chemical reaction, so safety gear is a must.
Then once all materials have been gathered , patience plays a huge role in achieving success with cold process soaps - especially if using certain techniques such as swirling multiple colours together within one mould or creating layered designs. Just remember to find a balance, as your soap mix will start to thicken over time. Planning ahead prior to production day ensures enough free time will be available so nothing needs rushing through. Lastly, although tempting because idea creation can often seem straightforward - testing out new ideas by trialing them first can save major headaches down road since attempting untried methods without prior knowledge on how they'll work out could result very unpredictable results (not necessarily desired ones either!).
All told - crafting cold process soaps not only lends itself towards artistic expression but requires understanding around various elements needed to create beautiful batches every single time!
• Stainless Steel Pan
• Heat-proof Measuring Jug
• Whisk
• Mixing Bowl
• Spatula
• Thermometer
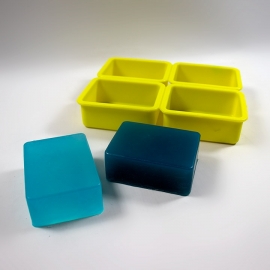
• Rectangle Silicone Mould
• 170g Cold, Clean Water
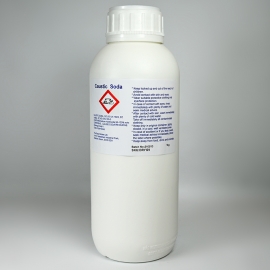
• 62.5g Sodium Hydroxide (Caustic Soda)
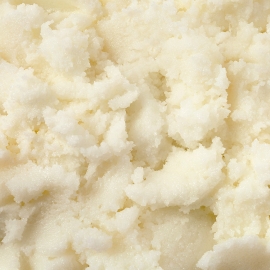
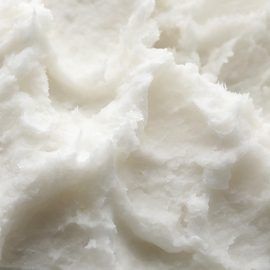
• 227g Olive Oil, Pomace
• 142g Coconut Oil
• 85g Shea Butter
• 10g Gingerbread Fragrance Oil
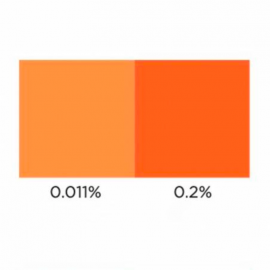
• Orange PCL Liquid Dye
• Premade Gingerbread Soaps
• Rectangle Mould
If you are looking to add Essential Oils or more Colours, explore our range.
This recipes makes approximately 500g of cold process soap. Always check the IFRA and legal limits for your chosen fragrance or essential oil..png)
For more information and tips and tricks on making cold process soap check out our article here.


 Vegan
Vegan
 Cruelty Free
Sign up to our mailing list to ensure you don't miss out and get 10% off your first order in your welcome email!
Plus, stay up-to-date with the latest news, tips, offers and inspiration from members of The Soap Kitchen community.


.jpg)


Leave a comment
Login to post comments