

Posted on: 2023-07-21
 Hub
HubFor all things cosmetics and toiletry making!
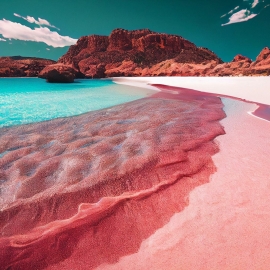
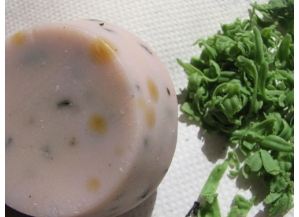
Are you looking for a creative way to add fun and style to your soap bars? If so, then layered soaps are the perfect project to get started! Layered soaps not only look beautiful and offer an interesting take on traditional soap design, but they are also surprisingly simple and beginner-friendly too. The layers are a hidden surprise, with your colours blending, overlapping and setting in unique and interesting shapes! In this blog post we'll show you how to make layered pink soaps using our melt and pour soap bases.
Using vibrant colors and interesting scents will bring out the artistic side in anyone once they learn and understand the basics of how to create their own beautiful handmade products. Enjoy the thrill of making custom multilayered soap bars without any difficult techniques. For this recipes we have chosen all things pink!
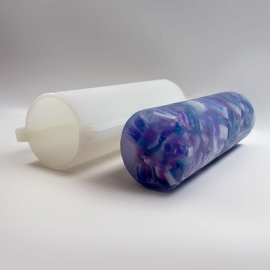
Depending on the strength of your lines, pouring layered soaps can get very creative. For solid lines, always ensure each layer has set fully before pouring the next layer. If you pour your soap before the layer has set, the colours will blend. The hotter the soaps the easier the colours combine, which isn't what you want to define your layers. If you are wanting to get creative and make unique funky layers, wait for the soap to form a slight skin but not set fully, then as you pour the next layer only parts will blend and it will leave beautiful patterns between your layers.
Layering melt and pour soaps, can be a fun but a time consuming process. Especially if you want to create the more intricate and pretty designs. Although the results are definitely worth it...
• Patience - In order for your layers to blend at the right time, you need to be patient. Pouring too early and when your soap is too hot, means your colours bleed into each other and due to the consistency of melt and pour soap, they blend completely forming a new colour. Waiting for the right time means each layer sets, either enough to be a solid line or enough to have a bit of structure to hold it's own colour. The colours then overlap instead of blend and create unique patterns.
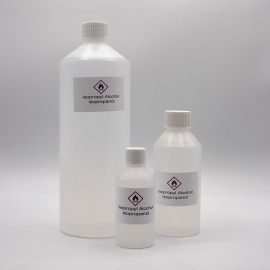
• Isopropyl Alcohol (IPA) - We would recommend spritzing each layer with isopropyl alcohol to remove any unwanted bubbles and help your layers stick. The alcohol reduces the bubbles, which removes any air pockets that would sit between your layers. It also creates a wet layer to help the new layer of soap stick on top.
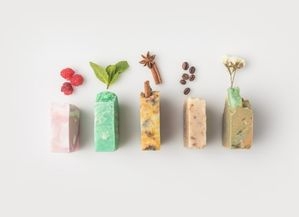
• Contrast - Always create contrasting colours for the best and prettiest patterns. Shades of colour that are similar don't hold their definition very well in your soaps. The stronger and bolder the contrast the more they stand out in your layers, that leave you with a beautifully designed soap bar.
• Time - Due to the layers and the size of this soap, we always recommend leaving for 12-24hrs to ensure it has fully solidified. This stops any shape distortion when cutting your loaf into bars.

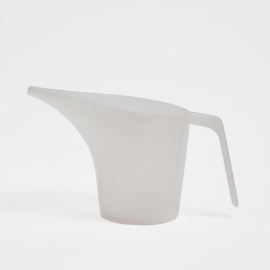
• 4 x Microwavable Jugs
• 4 x Spatula
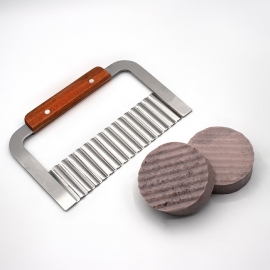
• Crinkle Soap Cutter
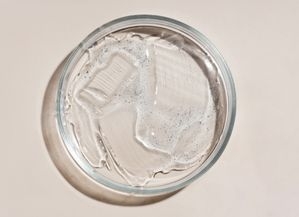
• 500g White Standard, Melt & Pour Soap Base
• 500g Clear Standard, Melt & Pour Soap Base
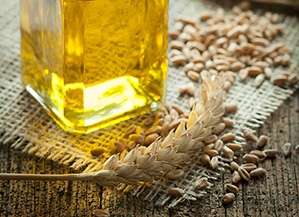
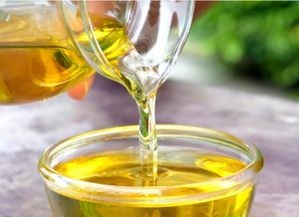
• 30g Fragrance or Essential Oil
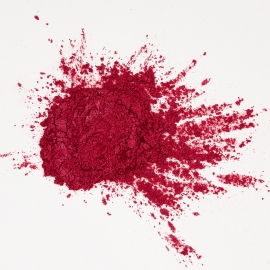
• Dark Pink Mica Powder
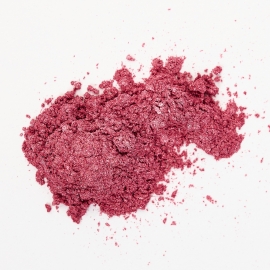
• Light Pink Mica Powder
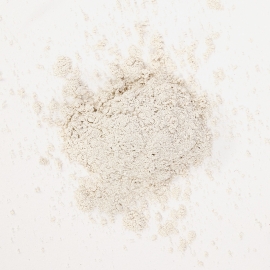
• Pearl White, Silver Mica Powder
• Pink Zenicolor
• Isopropyl Alcohol (optional)
Shop all ingredients below.
This recipes makes approximately 1kg of soap. Always check the IFRA and legal limits for your chosen fragrance or essential oil.

Stephenson crystal soap range, are reputable melt and pour bases used widely in the industry. These pre-made bases are ideal for the cosmetic market, from crafters to businesses, because it requires little in the way of specialist equipment. Simply add colour and fragrance to achieve fantastic finished soaps. From Goat's Milk to Shea Butter, we have over 30 different Stephenson soap bases for you to chose from, varying from 1kg trays to 11.5kg boxes. Whether you are making solid soap or shampoo bars, our range has something for everyone, we are sure to have a melt and pour base to meet your requirements, shop our range here.
Melt & Pour Soap Making is the simpler form of making soap. Which also means you require minimal amounts of equipment to get your started. The best equipment for melt and pour soap making is a microwaveable, spatula, mixing jug and cutting knife. Then you can cut up your base, melt in the microwave, stir in your fragrance and colour, pour into your mould and leave to set. It's as easy as that!
Always remember to wear appropriate safety gear when making soaps.


 Vegan
Vegan
 Cruelty Free
Vegan
Cruelty Free
Cruelty Free
Vegan
Cruelty Free
 Vegan
Cruelty Free
Vegan
Cruelty Free
Sign up to our mailing list to ensure you don't miss out and get 10% off your first order in your welcome email!
Plus, stay up-to-date with the latest news, tips, offers and inspiration from members of The Soap Kitchen community.


Leave a comment
Login to post comments