

Posted on: 2023-10-12
 Hub
HubFor all things cosmetics and toiletry making!
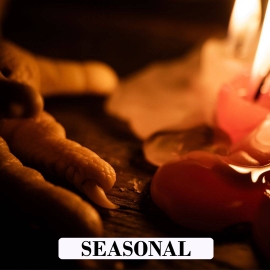
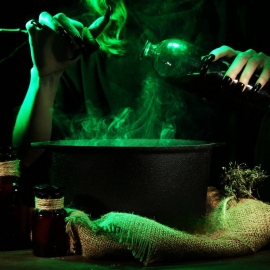
As the nights get dark earlier and we draw closer to Halloween, it’s time to start crafting some essential decorations that'll make your Halloween extra spooky! If you want to switch up your usual home-made decorations, why not try making Halloween soaps? It's a fun little project that won't break the bank. You can make all kinds of shapes, sizes and with your preferred scents! Using melt and pour makes things even easier - so there's no need for any previous soap making experience. Read on below for our step-by-step guide on how to make these Halloween soaps!
Shop everything you need at The Soap Kitchen. Including all of your equipment and tools, soap bases, colours, fragrances, moulds and more...
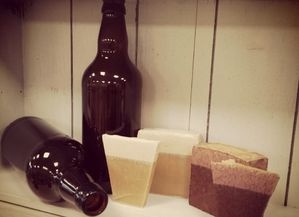
For this recipe, we have crafted a creative design, using our clear soap base to display our skulls, whilst emphasising the details of the red liquid dye. Adding character to our spooky creations and take our soap designs to the next level,
To stop of the colour of our skulls from blending with the clear base, we used Zenicolor, a non-bleed paste that create crisp colours without the risk of blending. We then used a liquid dye, with is known to disperse, to create a bleeding effect with our soaps. An eerie touch for our Halloween Soaps.
Making melt and pour soap is a great way to get started with soap making. Not only is it quick and easy, but the variety of pre-made bases available make it incredibly simple to use! Even better, each base has amazing properties that make them worth considering for your next DIY project.
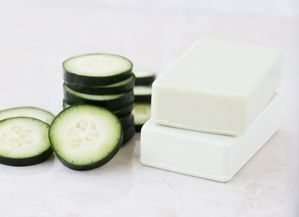
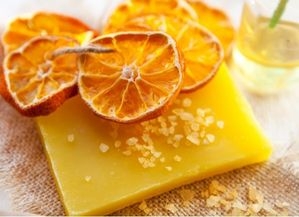
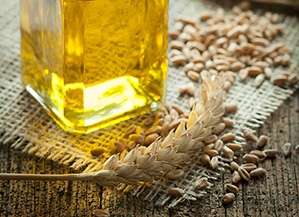
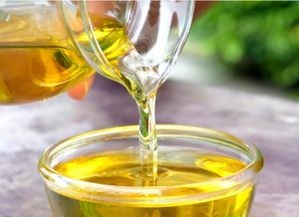
First off, glycerine based melt and pour soap is extremely versatile when it comes to adding colourants like liquid dyes or micas. The glycerine will hold onto these colours in amazing ways that can't be achieved with cold process soaps. You'll also find unique ingredients like goat's milk in the ready-made bases which have excellent benefits for skin care products. Other bases include shea butter, honey, olive oil and donkey milk among dozens of others - all ready made just waiting for your inspiration!
Another great benefit of using pre-made bases is their safety factor; melt and pour are considered “ready to use” so you don't need to worry about calculating saponification values or learning advanced techniques like hot process or rebatching soaps. This makes them perfect choice if you're just beginning in the craft (or a bit scared!) Pre-mixed batches allow you to create beautiful designs without all the hassle involved with making traditional cold processed bars from scratch - plus they can harden faster than regular cold process recipes since no curing time is needed before packaging up your goodies!

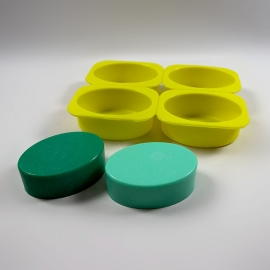
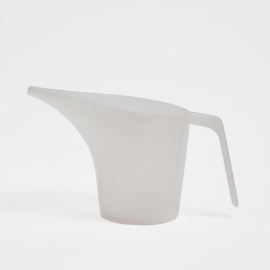
• Suitable Moulds
• Spatula
• Pouring Jug
• Microwave
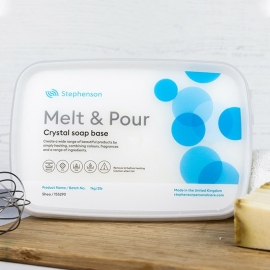
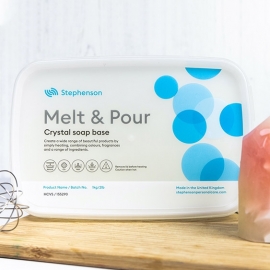
• 120g High Clarity Vanilla Stable (HCVS) Soap Base
• 120g Shea Butter Soap Base
• 6g Fragrance
• Zenicolor
• PCD Liquid Dye - Red
• Isopropyl Alcohol (IPA) - Optional
If you are looking to add Essential Oils or Colours, explore our range.
This recipes makes approximately 2 x 100/120g soap bars. Always check the IFRA and legal limits for your chosen fragrance or essential oil.

Please note, this style is more as a crafting option, the colour will continue to bleed into the clear soap. After time the aesthetically pleasing Halloween touch disappears.


 Vegan
Vegan
 Cruelty Free
 Vegan
Cruelty Free
Vegan
Cruelty Free
 Vegan
Cruelty Free
Vegan
Cruelty Free
 Vegan
Cruelty Free
Vegan
Cruelty Free
 Vegan
Cruelty Free
Vegan
Cruelty Free
Sign up to our mailing list to ensure you don't miss out and get 10% off your first order in your welcome email!
Plus, stay up-to-date with the latest news, tips, offers and inspiration from members of The Soap Kitchen community.


Leave a comment
Login to post comments