
Bath Bomb Making
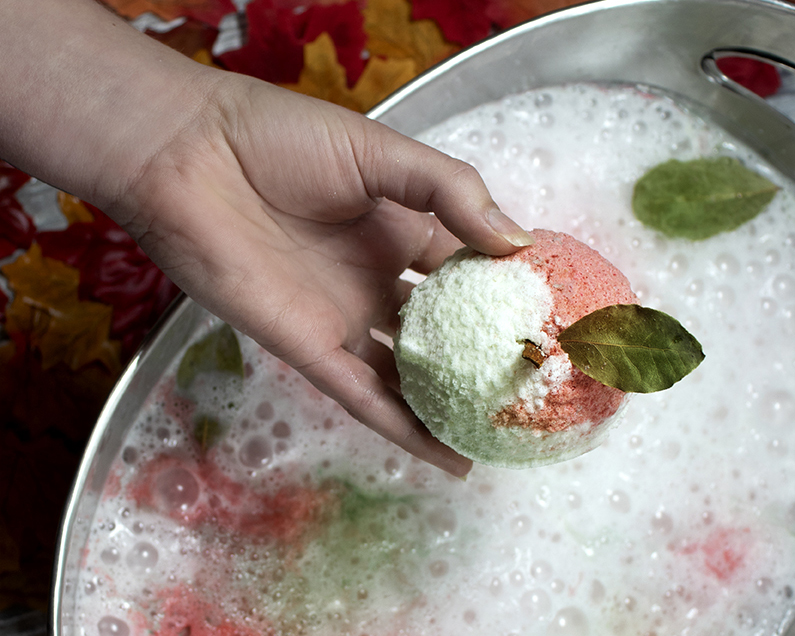
With the ever growing popularity of bath bombs, and the simplicity of creating a product that turns your bath time in to a paradise of colour, beautiful aromas and the feeling of fun and relaxation! We wanted to share with you a basic recipe and overview of information to help you with your own fizzy creations.
Making your own bath bombs is very simple and uses very safe ingredients, so it is suitable for supervised activities with quite young children, it can be a fun activity to do at home and even encourage them to take a bath or enjoy bath time even more! Just remember that citric acid will sting if it gets into cuts or scratches and will also be very irritating to the eyes, so if working with children be sure to take care in this respect and make sure no child rubs their eyes with hands just in contact with the citric acid.
Nowadays, bath bombs can create a rainbow of colours, twirl and spin, turn your water to slime and still be relaxing! From elegant cocoa butter filled floral bombs, to gruesome green slime bombs the possibilities are amazing and the fun is endless.Due to its popularity we have created a special category just for bath bomb making. Filled with colours, moulds, botanicals and unique ingredients to add extra character to your products. Did you know goats milk powder increases the foam of your bath bomb? Cornstarch adds a silky feel to the water! And sodium alginate transforms your bath water into slime, the more you add the slimier it gets!
There are all kinds of ingredients you can add to create the best kind of bath bomb to suit your requirements, click here to explore our wonderful Bath Bomb Making category.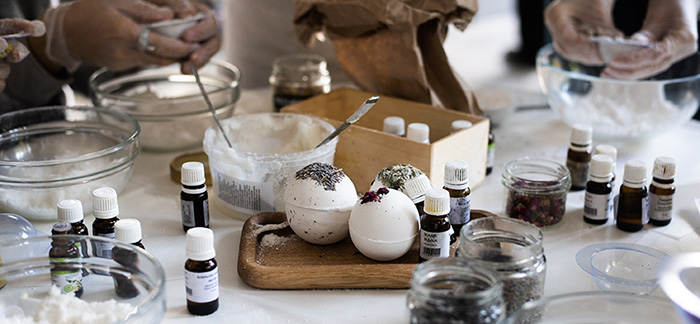
Equipment You'll Need To Make Bath Bombs...
- Large Mixing Bowl
- Suitable Moulds
- Kitchen Scales
- Hand Sprayer (containing clean cold water)
- Gloves
Ingredients For Bath Bomb Making...
- 300g Bicarbonate of Soda
- 100g Citric Acid
- 10ml of Fragrance or Essential Oil
- Colour
How To Make Bath Bombs...
- Prepare and clean your working area, including sourcing all of your equipment.
- Next, measure out the bicarbonate of soda and the citric acid into a mixing bowl, seiving if necessary and thoroughly mix together until you have a consistent texture. Always wear safety equipment, including protective gloves when bath bomb making.
- Then, add in your colour and mix well until you have a consistent shade throughout the mixture.
- Add in your chosen fragrance or essential oil into mixture. Most essential or fragrance oils will not cause the mixture to fizz, but certain citrus oils may, so if this happens, mix in quickly and thoroughly. Do not leave the mixture to stand or it will slowly start to set.
- Next, a little at a time and working the mixture all the time, spray a little water on it with the hand sprayer. Mix continuously to avoid it fizzing-up in the bowl and ONLY ADD ENOUGH WATER TO HAVE THE MIXTURE START TO HOLD TOGETHER WHEN LIGHTLY SQUEEZED IN YOUR HAND.
- Test the mixture by squeezing some in your hand. It should JUST hold together and not be too damp, similar to a snowball.
- Once this point is reached you need to work quickly to compress the mixture into your moulds. Fill each half just proud of the surface and press together for a few moments. Slightly over-filling with give your bath bomb space to grip and hold together.
- Then, gently remove one half, being careful not to let the bath bomb fall out. Give it a gentle tap if it is being stubborn.
- Leave to set in the remaining half for a few hours. Repeat until your have used up all of your bath bomb mix.
- Once solidified, simply remove the bath bomb from the mould and then you can enjoy your DIY bath bombs!
Tips
To keep your bath bombs in top condition, keep them in a sealed container at room temperature until you want to display them.
Beginners will usually find Granular Citric Acid easier to use. To improve the look and finish of the bath bomb, use Powdered or very fine Citric Acid, although care needs to be taken not to use too much water or they will start to 'grow' before they set hard.
You could choose to use all kinds of moulds including something simple like ice-cube trays or small yogurt pots, silicone baking moulds, cupcakes etc. If making these with children it's often easier to use simple moulds that don't need two halves.


