

Posted on: 2022-06-22
 Hub
HubFor all things cosmetics and toiletry making!
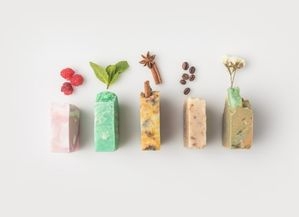
Create your own unique, homemade watermelon soap using our fun and easy guide with our melt & pour soap bases!
This recipe is a guide and can be adjusted using all kinds of scents, colours and more on our website to create your own bespoke soap.
Please ensure all appropriate safety gear is worn when making this product.
• Pan
• Gloves
• Spatula
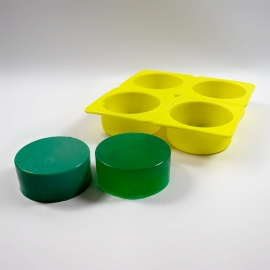
• Circle Mould, Set of 4
• 250g White Standard Soap Base, Stephenson
• 250g Clear Standard Soap Base, Stephenson
• 15g Watermelon Fragrance
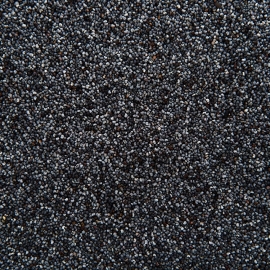
• 1g Poppy Seeds
• Green, Yellow & Pink Zenicolor
Firstly, prepare and clean your working area. Including sourcing all equipment needed. For this recipe, we would recommend three microwaveable jugs, spatulas and a cutting tool.
Next, carefully cut your clear soap base into cubes. This will help speed up the melting process.
Then place your cubes into your jug and melt in the microwave on medium heat. Preferably in intervals to ensure you don’t boil your mix. Initially melt for one minute then stir and put back in. Keep an eye on your soap as it can get hot very fast.
Once your soap has melted completely, carefully add in 10g of your fragrance oil and stir well.
Using your Zenicolor guide, add in your pink and yellow colour. You want to create the perfect watermelon red. Stir well to ensure the colour disperses evenly.
When you are happy with your colour, sprinkle in your poppy seeds and mix.
Once your ingredients are dispersed evenly, pour your soap mix into your moulds. You only want to fill each mould halfway.
Gently spray with IPA to remove any unwanted bubbles and then leave to set.
Once your red soap has completely set. Cut up your white soap, take half of your cubes, place into your second jug and melt in the microwave. Remember to do this in short intervals as you don’t want it to boil.
When your soap has melted, stir in 5g of your fragrance.
Then slowly pour this onto your already set soap. This will create your white layer. You want to fill half the remaining space with white, and spray with IPA. Then leave this to one side to set.
As soon as your white has set you can start on your green. Melt your remaining white soap in the microwave using the same process.
Once melted, add in your yellow and green Zenicolor. Again use the guide to work out the quantities required. Stir well to ensure the colours have blended evenly with your soap mixture.
When you are happy with your colour you can stir in your final 5g of fragrance. Give it one last stir, then slowly pour onto your already set white layer. This should fill the empty space in your mould. Then spray with one final spritz of IPA to remove the last unwanted bubbles and leave your soaps to set.
Once your soaps have set fully, remove them from their mould. Then you can enjoy your wonderful fragrant and beautifully layered Watermelon Melt & Pour Soaps!
Tip: If you pour your layers before the other layer has set the soap may break through and cause the colours to blend. Ensure your layer has set enough before pouring your next layer.


 Vegan
Vegan
 Cruelty Free
Vegan
Cruelty Free
Cruelty Free
Vegan
Cruelty Free
Sign up to our mailing list to ensure you don't miss out and get 10% off your first order in your welcome email!
Plus, stay up-to-date with the latest news, tips, offers and inspiration from members of The Soap Kitchen community.

.jpg)
.jpg)
.png)


Leave a comment
Login to post comments