

Posted on: 2022-04-07
 Hub
HubFor all things cosmetics and toiletry making!
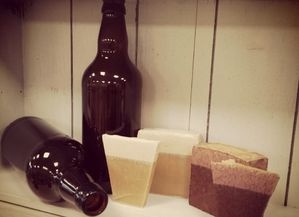
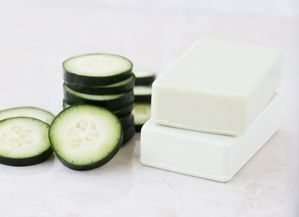
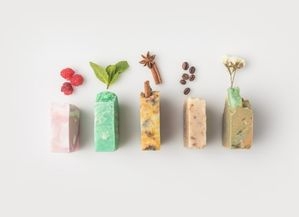
Create your own unique, Cold Process Soap using our fun and easy guide.
This recipe is a guide and can be adjusted using all kinds of scents and nourishing oils and butters on our website to create your own bespoke soap.
Please ensure all appropriate safety gear is worn when making this product.
If you have not tried cold process soap making before, we would recommend checking out our basic cold process recipe. This contains more information and relevant details.
Top Tip: Place your essential oil bottle into your mould, that way you won’t forget to add it in!
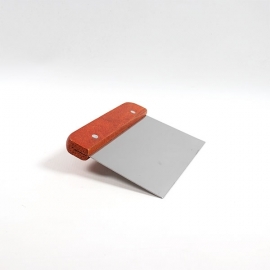
• Soap Cutter
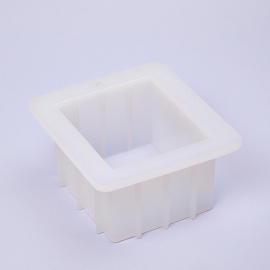
• Square Silicone Soap Mould
• Gloves
• Safety Glasses
• Spatula
• Mixing Jug
• Saucepan
• Thermometer
• Hand Blender
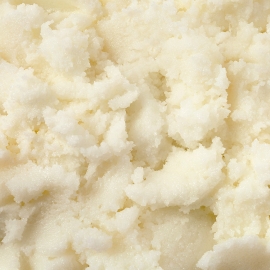
• 225g Shea Butter
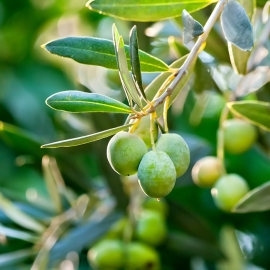
• 225g Olive Oil, Pomace
• 180g Cold, Clean Water
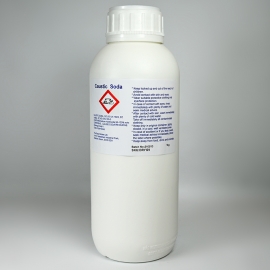
• 57g Sodium Hydroxide (Caustic Soda)
• 15g Lavender Essential Oil
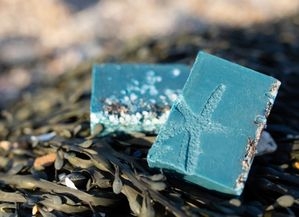
• 3g Ultra Marine Violet Powder
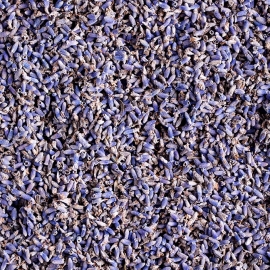
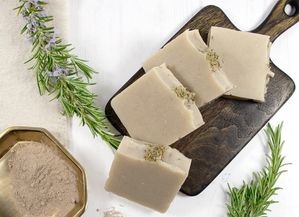
• 4g Lavender Flowers, Dried
Firstly, prepare and clean your working area, and source all equipment needed. Make sure you are wearing all of your safety gear including safety glasses, gloves and full sleeves.
Measure out 180g of water into a jug then carefully pour your caustic into your water and whisk, stirring all the time. This can get very hot so do be careful. Be careful not to breathe the vapour that is initially given off, so hold your breath and stir until all the caustic soda has dissolved and there are no lumps stuck to the bottom of the jug.
The solution (now known as Lye) will heat up to nearly 200°F (95°C) and will need to be left to cool. Place the jug in a large bowl of cold water, being careful not to 'float' it.
Next we are going to work on our oils, measure out your shea butter into your saucepan then pour in your olive pomace and put on a low heat until it has completely melted. Then let cool.
Once your oils and lye are the same temperature, between 60-70°C is good, you can mix together. Pour your lye into your oils and start mixing straight away with a balloon whisk to ensure the mixture all starts to chemically react and combine.
Stir the mixture fairly briskly. You will notice the solution start to turn more opaque and as the minutes pass it will start to thicken into a custard like consistency. This is known as trace.
When happy add in your essential oil and mix well to ensure it has dispersed throughout.
Next, you can add in your colour. For this recipe, we are creating a two-toned colour so start by adding half of your colour and whisk.
You will want to blend your colour in short bursts so you don’t add to much air in to the mixture. You’ll notice the more you blend the thicker the mixture will get.
When ready pour half of your mixture into your mould and use your spatula to push the mixture to the edges and smooth the top. Tap the mould carefully against a flat surface to help flatten your soap. Put to one side while you finish colouring the next layer.
Following the same process add in the rest of your colour to your mixture and blend. Now you will have your darker shade ready for the next layer of your soap. Make sure you have the correct consistency before adding to your mould. If the consistency is too runny the mixtures and colours will combine.
Use your spatula to scoop the mixture onto your soap, ensuring your reach all the corners. Then use your spatula or a spoon to create a soap top pattern to your desired finish. Then sprinkle your lavender on top.
Next, you need to insulate your soap and leave to cure. Insulate with old towels or a blanket and leave at room temperature until the soap has solidified. For this small-batch, setting should be no more than 24 hours. Larger batches can take longer. We are leaving our soap with an open-top so we get a soda ash finish creating a gentle white layer.
Now that our soap has had enough time to initially gel we can remove it from the mould. If you pull away from the edges and you feel the mixture is sticky or too soft, leave your soap for another 24-48hrs.
Gently pull away the mould allowing the air into the gaps to help release the soap. With your soap removed you can now cut your soap with a soap cutter.
For more information and tips and tricks on making cold process soap check out our article here.

Sign up to our mailing list to ensure you don't miss out and get 10% off your first order in your welcome email!
Plus, stay up-to-date with the latest news, tips, offers and inspiration from members of The Soap Kitchen community.


.jpg)
.jpg)
.png)


Leave a comment
Login to post comments