TheHub
For all things cosmetics and toiletry making!
How To Make Shower Steamers
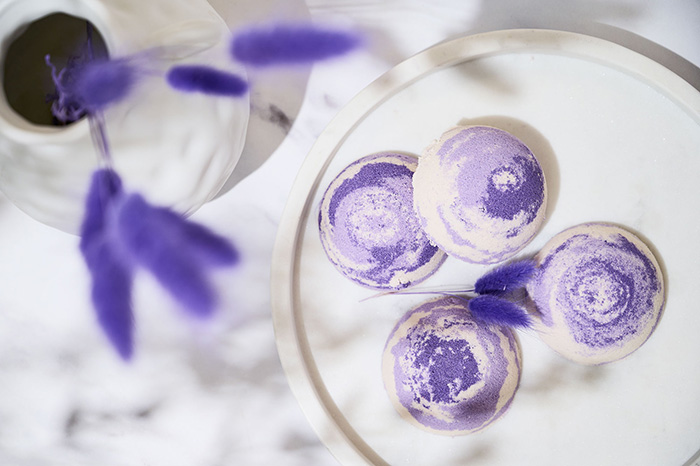
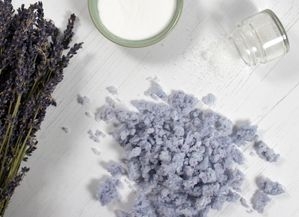
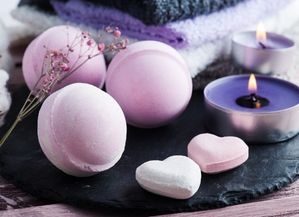
Want to make your shower more fun and fresh but not sure how? Then we have the make for you! Shower Steamers are becoming more and more popular and include incredible soothing benefits while making your shower smell incredible!
Known to help soothe stress and minor aches, shower steamers create a relaxing atmosphere and an aromatherapeutic experience, so your shower feels like a treat and not a chore.
As they don’t require any CSPR’s and only use five ingredients, shower steamers are super easy to make and great to add to your product range!
We have an amazing DIY kit, complete with everything you need to create shower steamers. Including your mould and set of ingredients, with a freshingly fruity fragrance and beautifully elegant purple colourant. Click here to see our range of DIY kits.
Equipment
• Bowl
• Gloves
• Spray bottle
• Suitable Mould
• Flat edged tool
Ingredients
• DIY Shower Steamer Kit
Alternatively:
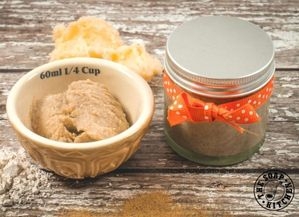
• 300g Bicarbonate of Soda
• 150g Citric Acid
• 15g Kaolin, White Cosmetic Clay
• 15g Mediterranean Fig Fragrance Oil
• Purple Coated Mica
How to make Shower Steamers...
- Add your bicarb, citric and cornstarch into a bowl and wearing gloves, mix well ensuring all ingredients have combined and you break away any lumps.
- Next, pour in 15g of your fragrance oil and mix with your hands. Make sure you break away any lumps that may have formed ensuring your fragrance oil is evenly dispersed.
- Now it’s time to add your colour. For this recipe we will be creating two shades of purple and keeping a white. With your ingredients thoroughly mixed, carefully split your mixture into two bowls and sprinkle a small amount of colour to one bowl. Then scoop out half of your purple mix into another bowl and sprinkle more colour in to create dark shade. Mix well to ensure your colour has dispersed evenly across your mixture.
- Next, we are going to add a small amount of water to the mix to help achieve the correct consistency, we have used a spray bottle in our tutorial. You want to aim for a snowball consistency - the best way to describe this is when you squeeze some of your mix in your hand it holds together like a snowball.
- Working on one bowl at a time, spray from a distance and mix immediately so it doesn’t start to react. Make sure you include any excess at the sides and mix until you get the correct consistency.
- Now it's time to start adding your mix to your mould. We have chosen our 70mm circle mould and we are only using a single half to create a flat finish (we don’t want our steamers to be rolling around in the shower).
- Take a small pinch of each colour and layer the bottom of your mould. We are usuing the swirl technique, using a flat rode or spoon in a circle motion to swirl your colours. Then, fill the middle of your steamer, ensuring you press down to remove any air gaps. You want your finished shower steamer to be quite compact. You can feel with your fingers if you are missing any patches that might need a top-up. Once you are happy, slide your bowls to one side and find yourself a nice flat surface.
- Using a flat edge tool, we used our soap cutting tool, but you can use any flat edge for this, scrape away the excess mixture leaving a smooth edge, then gently flip over your mould onto your surface. Give it a tap on the top (it may stick slightly so just gently keep taping) and carefully remove your mould. Then repeat until you have used up all of your ingredients.
- Leave your shower steamers to completely solidify, preferably overnight. Once solidified, simply place your steamer in the bottom of your shower and let it work its magic!
Please Note
Humidity can affect your final steamer, any moisture in the air will add to the reaction of the steamer so ensuring you are in a dry working area will always help. Due to the quantities of ingredients, this product can not be used as a bath bomb.
Explore Our Articles
Join our family and get 10% off your first order!
Plus, stay up-to-date with the latest news, tips, offers and inspiration from members of The Soap Kitchen community.
Leave a comment
Login to post comments