

Posted on: 2022-05-03
 Hub
HubFor all things cosmetics and toiletry making!
Get fruity with our Avocado & Mango Cold Process Soap tutorial. Packed full of nourishing butters and oils, leaving your hands soft and revitalised while smelling incredible, create your very own Avocado & Mango Cold Process Soap using our fun and easy guide!
This recipe is a guide and can be adjusted using all kinds of scents and nourishing oils and butters on our website to create your own bespoke soap.
*Always wear safety goggles/glasses and use protective gloves when soap-making to avoid injury from spills and splashes.
• Two good sized stainless steel or enamel saucepans.
• A heat-proof glass measuring jug or plastic jug able to withstand boiling water.
• Accurate kitchen scales.
• A balloon whisk & rubber/wooden spatula, or similar.
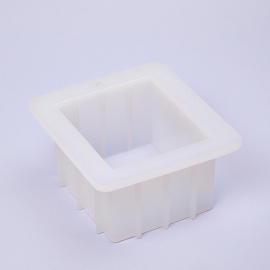
• A Square Silicone Soap Mould
• Eye and hand protection (safety glasses and rubber gloves).
• A blanket or large towel.
• 117g of Cold, Clean Water
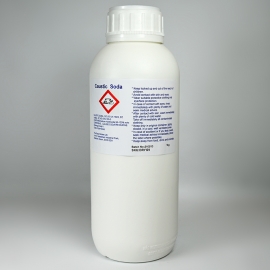
• 46g of Sodium Hydroxide (Caustic Soda)
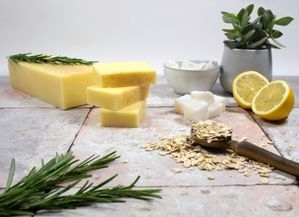
• 100g Coconut Oil (hard variety)
• 100g Palm Oil (hard variety)
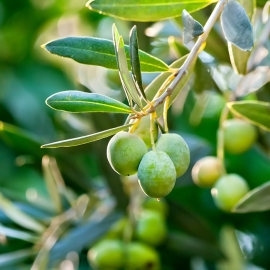
• 84g Olive Oil
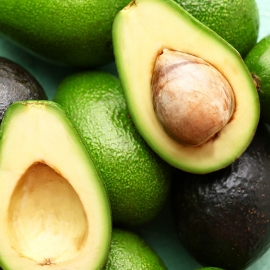
• 30g Avocado Oil
• 17g Avocado Butter
• 7g Mango Fragrance
• Green Chrome Oxide Pigment
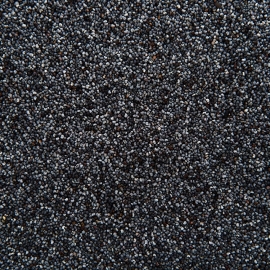
• Poppy Seed
*Make sure you have all the ingredients and equipment listed above BEFORE you start, weigh them out into suitable containers ready to use.
Firstly, prepare and clean your working area, and source all equipment needed. Make sure you are wearing all of your safety gear including safety glasses, gloves and full sleeves.
Measure out 117g of water into a jug then and then weigh (accurately) sodium hydroxide beads (or pearls) into a suitable container. Carefully add the sodium hydroxide to the water, and whisk, stirring all the time. Be careful not to breathe the vapour that is initially given off, so hold your breath and stir until all the sodium hydroxide has dissolved and there are no lumps stuck to the bottom of the jug.
The solution (now known as Lye) will heat up to nearly 200°F (95°C) and will need to be left to cool. Place the jug in a large bowl of cold water, being careful not to 'float' it.
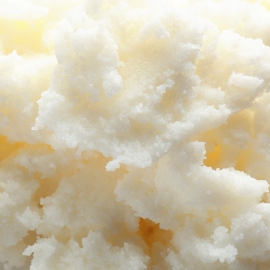
Next we are going to work on our oils, measure out exactly the coconut, palm oils and avocado butter into one of the saucepans (the smaller if there is one) and gently melt it on the stove. Don’t overheat it, just melt it. When there are tiny pieces of solid oil still left to melt, remove from the heat and leave until completely liquid.
Whilst the solid oils are melting, measure out the olive and avocado oils into the other saucepan (this will be the soap-making pan).
Once melted, pour the warm oils into the soap making pan and mix them all together.
Then slowly and carefully pour the lye into the oils, and start stirring with a balloon whisk to ensure the mixture all starts to chemically react and combine.
You should stir the mixture fairly briskly. You will notice the solution start to turn more opaque and as the minutes pass it will start to thicken.
The stage in the process you have to wait for is known as the ‘Trace’. This is when you can drizzle the mixture from the whisk onto the surface of the solution and it leaves a visible trace before sinking back into the rest.
Once you have reached a good trace/ custard-like consistency, you can add essential or fragrance oils if using suitable colours.
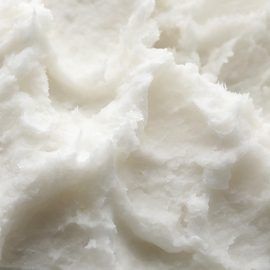
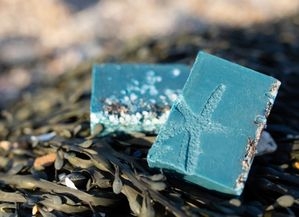
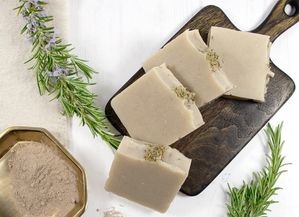
Once everything is added and well mixed to a nice thick texture, simply pour into the mould and mound the top of the soap toward the centre, using a spoon or fork, and sprinkle poppy seeds on top for decoration.
Cover the mould with something like a cardboard sheet to prevent anything touching the surface of the soap whilst it’s setting.
Insulate with old towels or a blanket and leave at room temperature until the soap has solidified. With a small batch like this example, this should be no more than 24 hours. Larger batches can take longer.
Next, you need to insulate your soap and leave to cure. Insulate with old towels or a blanket and leave at room temperature until the soap has solidified. For this small batch, setting should be no more than 24 hours. Larger batches can take longer. We are leaving ours open so we get a soda ash finish creating a beautiful white top.
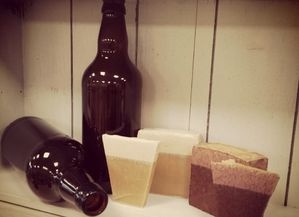
Once set and cool, remove the soap from the mould and remove any lining paper from the soap. At this stage it will be a soft solid and can be easily cut into bars or smaller blocks if desired. If it appears too soft to handle, leave it for 2-3 days and try again.
Leave your soap ‘curing’ at room temperature for typically at least 3-4 weeks, preferably on a sheet of uncoloured absorbent paper allowing air to circulate around each bar or block. Curing will allow the soap to lose excess moisture and become harder.
For more information and tips and tricks on making cold process soap check out our article here.

Sign up to our mailing list to ensure you don't miss out and get 10% off your first order in your welcome email!
Plus, stay up-to-date with the latest news, tips, offers and inspiration from members of The Soap Kitchen community.


.jpg)
.jpg)
.png)


Leave a comment
Login to post comments